


Blog / DIY

Allergy-Proof Your Nissan With This Guide From Bennington Nissan! | Bennington, VT

BLOG_HEADER_4

Winter is coming to a close and we’re all excited for warmer weather! And, while spring comes with sunshine and blooming buds, it also comes with a whole lot of pollen! Those who are sensitive to allergens experience itchy eyes, runny noses, scratchy throats, and more! But, don’t worry, we’ve got you covered! Bennington Nissan has put together a guide on how you can allergy proof your vehicle to fight off the pollen! Check out our guide below, and if you don’t have the time to take on this job by yourself, schedule a service appointment at our Nissan Service Center and let our team get your ride ready for the spring season!
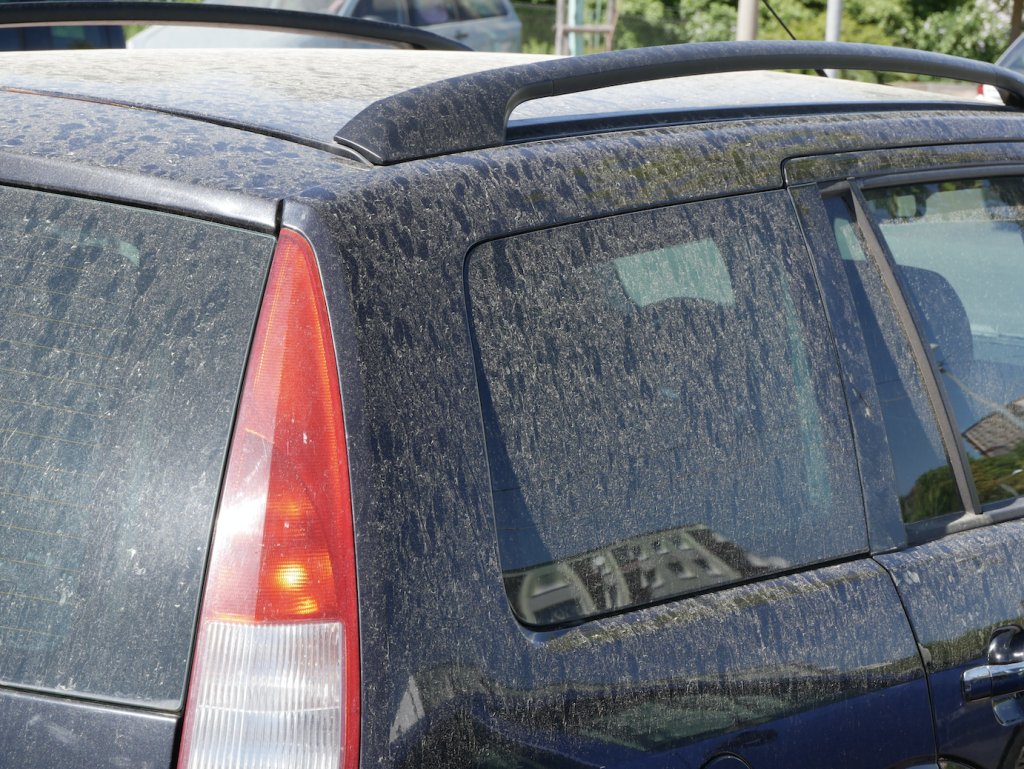
Bennington Nissan’s Guide For Allergy-Proofing Your Ride:

Scrub It Down (Inside & Out)

  • Whipping down your dashboard, steering wheel, vents, and seats with a cloth dampened with either water or a non-irritating clean can do wonders for picking up pollen and dirt! Plus washing your floor mats and interior upholstery can give you that spring fresh feeling without the accompanying allergens. And don’t forget to keep your exterior clean, the less contact with pollen you have the better! We recommend investing in a car wash membership and using it regularly!

Be Conscious Of What You Bring In

  • You may not realize it, but you bring in a lot of pollen on your clothes and shoes. We know that stripping down everytime you get into your vehicle isn’t feasible, but removing the top layer of clothing– like a jacket, scarf, or hat– could help keep allergens out of your ride. Try storing them in separate areas like a plastic bin in your trunk or a bag in the back seat. And while we know it’s tempting to roll them down to feel the spring breeze, be sure to keep your windows closed during peak pollen times to keep allergens out. 

Replace Your Filters And Floor Mats

  • Your air filters are your first line of defense, and if they are old, or overused now is the perfect time to get yours replaced. All-weather floor mats are also a great way to cut back on the number of allergens that get trapped in your vehicles. In fact it’d probably be a good idea to wrap all of the cloth surfaces in your car with washable covers as it makes it easier to clean them.

Posted in:

Related Posts

BLOG_HEADER_3

The New Year Is Bright, Make Sure Your Headlights Are Too! | Bennington, VT

Well 2024 is finally here and with it comes all the bright, shiny, exciting plans you have for the brand-new year! But, are you sure your ride can keep up? When was the last time you replaced your headlights? Make sure your ride is ready to illuminate all the adventures you have ahead and take a look at Bennington Nissan’s DIY guide on replacing your headlights! Check that out below, and if you feel as though you don’t have the time or tools to take on the job yourself, be sure to schedule a service appointment at our Nissan Service Center today! Bennington Nissan’s Guide To Replacing A Headlight: Pop your hood and prop it open using the provided stand or another sturdy object to keep it open. Remove the power connector from the back of the headlight. This may require a slight turn or jiggle to get it loose. Remove the dust cover from the back of the headlight. This also may require a small twist to get loose. Some cars have a clip that holds the bulb in place. Press down on this clip to release the light bulb. Grasp the housing of the bulb and pull it out. This step may require a little wiggling to get it loose. Do not pull the bulb by the glass or tug the bulb roughly. This could cause it to break and may result in injury. Holding the old bulb and new bulbs by their housings, compare to make sure they match. To guarantee your bulb is free of dust and fingerprints, gently wipe it with a pre-moistened alcohol wipe or rubbing alcohol on a dust-free cloth. Line up the bulb housing with the open socket and insert carefully. Make sure it's secure. Slide the bulb back in place and twist if necessary to make sure it's locked into its spot. Replace the clip (if you have one), dust cover, and power connector. Turn on your headlights to ensure the bulb and connection are working. Close the hood and give yourself a round of applause!

BLOG_HEADER_5

DIY Your Battery Replacement With This Guide From Bennington Nissan | Bennington, VT

Going into chillier Fall and Winter months, one of the biggest vehicle maintenance issues you’ll want to avoid is a dead or faulty battery! But, lucky for you, Bennington Nissan has put together a DIY Battery Replacement guide so that you can ensure your ride has a brand new battery to take on rough roads ahead! Check that out below, and if you’re not one to tamper with your own vehicle for fear of causing damage, or just don’t have the time in your busy schedule to take on a DIY, our service team will gladly do the job for you! Schedule a service appointment at Bennington Nissan today! Bennington Nissan’s Guide To Changing Your Battery: First, make sure your vehicle is in park with the engine turned off. Next pop open the hood and locate the battery. If you were previously driving the vehicle, be sure to give your vehicle enough time to cool down before working on anything under the hood. Then, detach the negative cable (black) from the battery. Loosen the nut with a wrench, twist the end of the cable with your hand, and pull the cable away from the battery terminal. Repeat with the positive cable (red). Next unclamp the battery hold-down clamp from the battery– you may need to use a wrench or a socket and ratchet. Once the clamp is off, remove the battery from the holding tray. Be aware that while compact, batteries are heavy, so lift with your legs! Clean the holding tray, cables, and nuts/ bolts of dirt, debris, and buildup using a battery cleaning solution. You want to use an anti-corrosive cleaning solution and you want to pay extra attention to any spots with corrosion, this could cause problems down the road if not addressed. After cleaning, be sure the parts are completely dry before inserting the new battery. Insert the new battery and secure it in place with the hold-down clamp. Apply an anti-corrosive solution to both terminal ends. Once this is completed, attach the positive battery cable first and then the negative cable. Make sure you tighten both terminals to ensure you have a tight and secure connection. Check the security of the battery, your battery should not be able to wiggle or move once inside the holding tray. If your battery is able to move, tighten the clamp and be sure the cables are tight and secure, as well. Before closing up, try starting your vehicle to ensure that everything is working properly. Then you should be good to go!

BLOG_HEADER_1

A Beginner's Guide to Changing Your Vehicle's Oil | Bennington, VT

Changing your vehicle's oil is a vital part of regular car maintenance, but it can be an intimidating task if you've never done it before. But, Bennington Nissan wants you to know that you don’t have to be a professional to give your vehicle a fresh start this Spring! We’ve compiled a DIY guide to make changing your car's oil easier than ever! Follow the steps below: Bennington Nissan’s Guide To Changing Your Vehicle's Oil: Gather the Necessary Tools and Materials Before you get started, you'll need to gather some tools and materials, including a jack and jack stands, an oil filter wrench, a drain pan, a funnel, and the correct type and amount of oil for your vehicle. Locate the Oil Filter and Drain Plug The oil filter and drain plug are typically located on the bottom of the engine. Consult your owner's manual or a repair manual to locate these components. Drain the Old Oil Place the drain pan under the drain plug and remove the plug using a wrench. Allow the old oil to drain out completely. Replace the Oil Filter Using the oil filter wrench, remove the old oil filter and replace it with a new one. Be sure to lubricate the new filter's gasket with some fresh oil before installing it. Refill with New Oil Use the funnel to refill the engine with the correct amount and type of oil specified in your owner's manual. Start the Engine and Check for Leaks Start the engine and let it run for a few minutes. Check for any leaks or other issues. Dispose of the Old Oil Properly Be sure to dispose of the old oil in an environmentally friendly way, such as taking it to a recycling center or an oil change shop that offers oil recycling services. By following these steps, you can change your vehicle's oil with confidence and keep your car running smoothly.